.jpg)
Project Time!
I was wondering what I could do for my Janome Project (as always) I am never ready. Luckily, I’m CLUTCH when necessary! I got to thinking, it’s hot and summertime is here so, I decided to make some shorts! Who doesn’t need shorts, right? They are an easy and necessary sew! They are also good because you can use of those 1 to 1 ½ yard remnants cluttering up your sewing space. I pulled a fabric that has been hogging up space for about 4 years. LOL
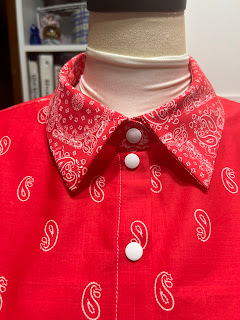
Now, let me get started. It’s a cool fabric! It’s a bright striped twill I am using, and I have a matching stretch cotton to make a shirt! Gotta love a catchy matchy matchy!

The pattern I am using for the shorts is McCalls 8221 I purchased last summer. These shorts don’t have cuffs and I love a good cuff in my shorts, so I am going to add them and let you in on the process. Cuffs can be added to pants as well. You’ll see how to add them while I make my garment!
You will need to make sure you have an extra four (4) inches of fabric added to the finished hemline you desire. This fabric will form your cuff. If you are using a pattern that does not have a “cuff”, the bottom of the pattern will taper slightly and the last inch (or whatever the hem allowance) and will angle out. That is not what you want.
 |
| Not this! |
You will need to square the bottom corners of your pattern (at the hem) to 45 degrees. *Note (If your pants are purchased “unfinished” at the hem, this will already be done). Sew your pattern as instructed.

Finish the bottom edge of your garment with an overcast stitch on your machine or serge. With your garment wrong side out, fold your hem to 2.5”. Press the fold. If using a sewing machine, lengthen your stitch 3.0 and stitch all the way around using the fabric edge as your guide. *Note (Feel free to use a blind hemmer or hand stitch your hem.) Make sure you use a thread that matches your garment!
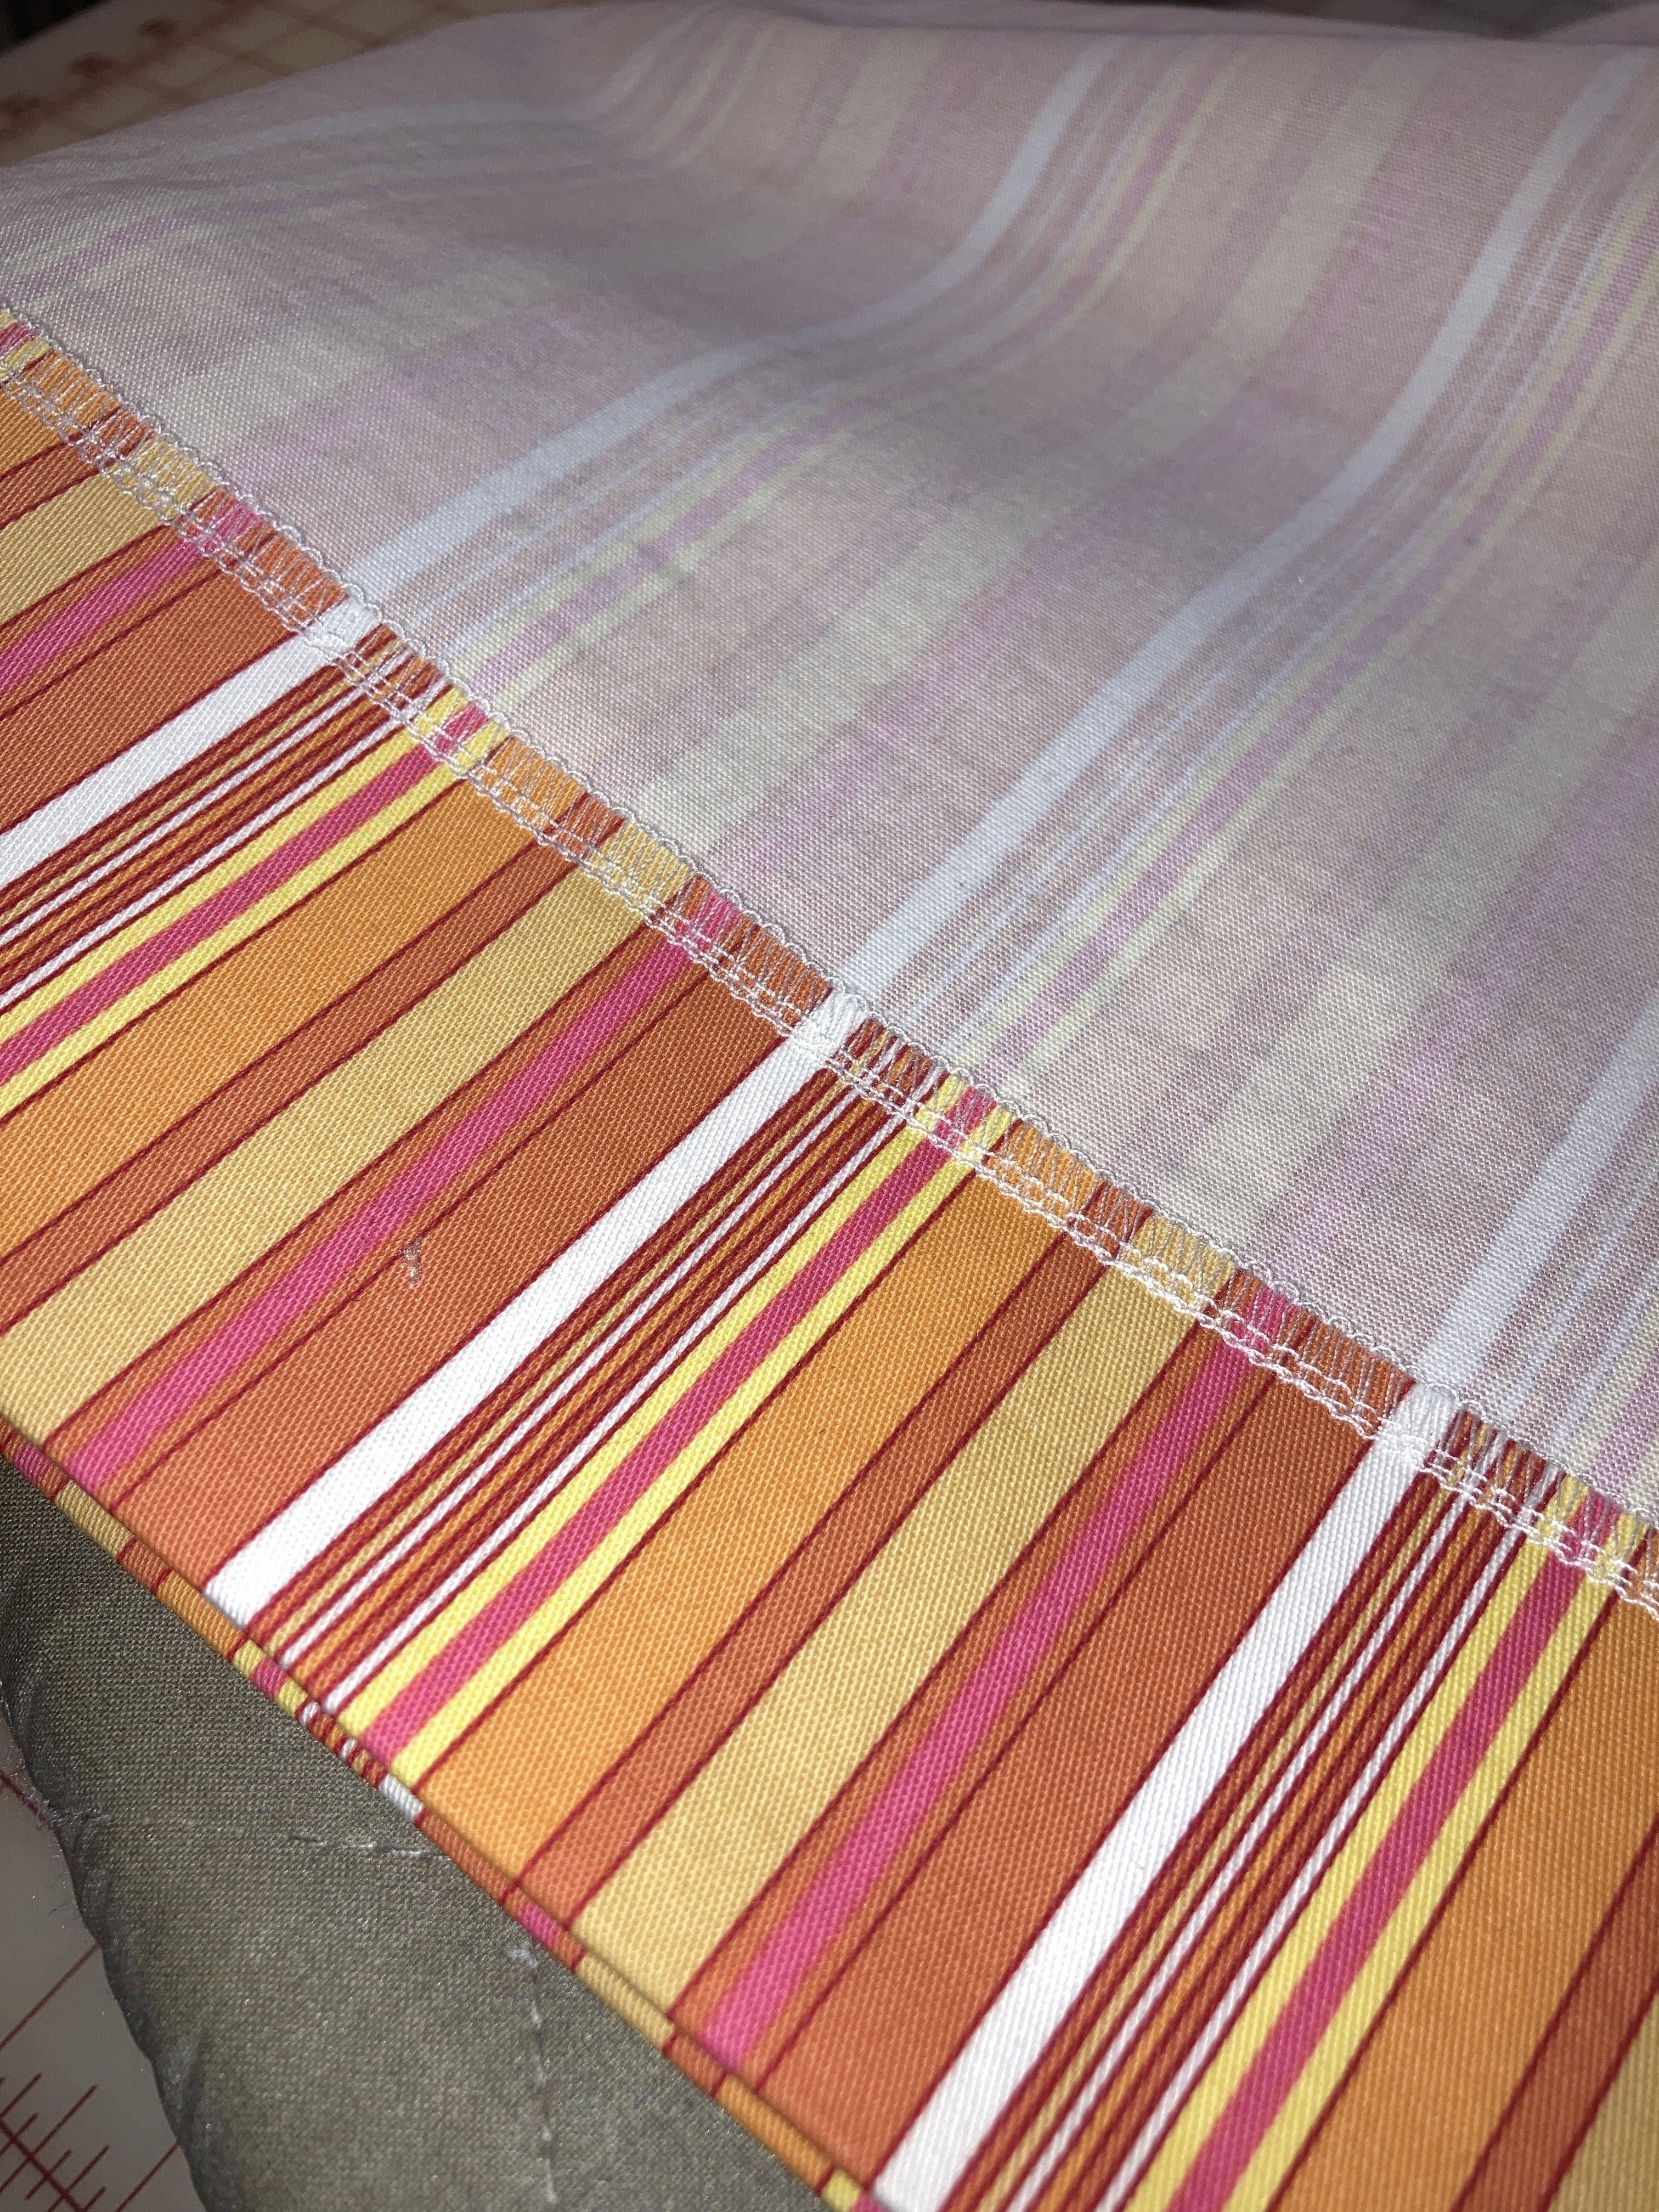 |
| Finished Hem |
 |
| Stitched Hem |
 |
| Stitch in the ditch |
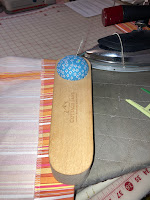 |
| Clapper |
 |
| Meausure Away! |


You are Done!!! Wear your garment with pride! You just saved yourself money with this alteration and/or learned a new skill! Nice Job!!
Hope you enjoyed this and know if you don’t like a 1.5” cuff you can decrease the fold but the math is on you! LOL!! Now I mush go and complete my top!!!


No comments:
Post a Comment
Yay!!! Thanks for visiting and leaving a comment!